
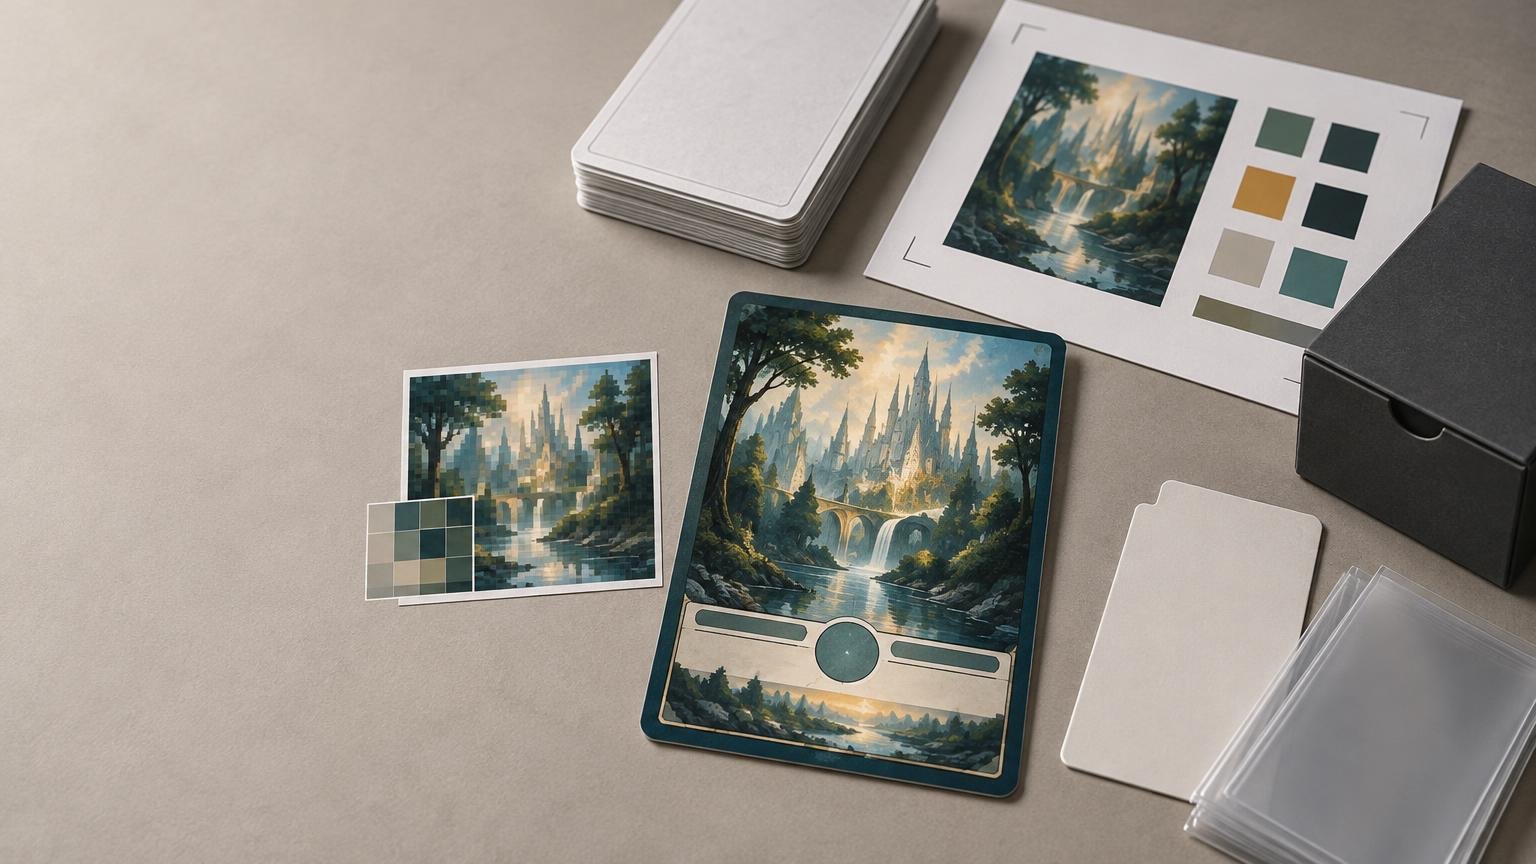
TLDR: Use 300 PPI at the final printed size
For a standard-size MTG proxy, 300 PPI at final size is the practical target. A finished 2.5 × 3.5-inch card face needs 750 × 1050 pixels. If the printer requires 0.125 inch of bleed on every edge, build a 2.75 × 3.75-inch canvas measuring 825 × 1125 pixels. That is enough for most photographic artwork, textured backgrounds, frames, and properly prepared card text.
Resolution is only one part of the file. A 300 PPI canvas will not rescue a blurry web image, heavily compressed JPG, soft text layer, or artwork that was enlarged from a thumbnail. Start with clean source material, keep text and symbols inside the safe area, add the printer’s required bleed, and inspect a representative test batch before committing a full deck or Cube.
The useful calculation is pixels divided by print size
Image resolution for printing is determined by how many pixels are available across the physical dimensions of the finished image. The traditional Magic card format is approximately 2.5 inches wide by 3.5 inches tall, as reflected in the Magic Comprehensive Rules documentation.
At that size, the basic calculation is simple:
- 750 pixels ÷ 2.5 inches = 300 PPI
- 1050 pixels ÷ 3.5 inches = 300 PPI
- Therefore, a 750 × 1050-pixel image prints at 300 PPI when placed at 2.5 × 3.5 inches.
This is effective resolution: the resolution the image actually has at the size at which it will be printed. The number entered in an image editor’s resolution field is not meaningful by itself. Pixel dimensions and final physical dimensions must agree.
| File setup | Physical canvas | Pixels at 300 PPI | Practical use |
|---|---|---|---|
| Finished face only | 2.5 × 3.5 inches | 750 × 1050 | Useful for checking effective resolution, but not sufficient when the printer requires bleed. |
| 0.125-inch bleed on all edges | 2.75 × 3.75 inches | 825 × 1125 | Print-ready canvas for an edge-to-edge card under the cited PrintMTG specification. |
| Finished face at 150 PPI | 2.5 × 3.5 inches | 375 × 525 | Usually too soft for small rules text and fine frame details. |
| Finished face at 600 PPI | 2.5 × 3.5 inches | 1500 × 2100 | Potentially useful for line art or text-heavy originals, but unnecessary detail cannot be created from a weak source. |
| Finished face at 1200 PPI | 2.5 × 3.5 inches | 3000 × 4200 | A high-resolution line-art target, not a requirement for ordinary continuous-tone artwork. |
PrintMTG’s current file requirements specify 300 dpi at final size for submitted images and a 600–1200 dpi target for line art. Its instructions also call for 0.125 inch, or about 3 mm, of bleed on every edge. Under those requirements, an edge-to-edge card file should be 825 × 1125 pixels at 300 PPI.
PPI and DPI are related, but they are not identical
PPI describes the pixels in the image at a given printed size. DPI technically describes the dots a printer places on the substrate. Upload instructions often use “DPI” when they are really asking for image resolution in pixels per inch, so the terms are frequently treated as interchangeable in ordering workflows.
For project preparation, concentrate on what you can control: pixel dimensions, document dimensions, and the printer’s requested resolution. If a submission page asks for a 300 dpi image at 2.5 × 3.5 inches, prepare at least 750 × 1050 pixels before accounting for bleed.
Changing the resolution label does not add detail
A common failure is opening a small image, changing “72” to “300” in the resolution box, and assuming it is now print quality. If resampling is disabled, this changes the assigned print dimensions but leaves the pixel count untouched. No new visual information has been created.
If resampling is enabled, software estimates and inserts new pixels. That can make the file larger, but it cannot reconstruct lettering, texture, edges, or facial detail that never existed in the source. Adobe’s explanation of image size, resolution, and resampling distinguishes changing print dimensions from adding pixels, while its printed image resolution guidance explains how pixel dimensions relate to output size.
Upscaling can be useful when a file is only slightly undersized and the original is otherwise clean. It is not a reliable repair for a 300-pixel-wide card image scraped from a search result. Aggressive resampling can leave text looking waxy, introduce halos around frame elements, or turn fine line work into uneven shapes. Repeated resampling can compound the loss, so resize from the best available original and avoid cycling between dimensions.
Why low-quality source files remain obvious on a small card
A Magic card may be physically small, but it contains unforgiving details: rules text, collector information, mana symbols, thin frame lines, set symbols, and high-contrast type over textured backgrounds. A soft landscape image might look acceptable after reduction. Soft card text rarely does.
Compression is another problem. Small web JPGs can carry block artifacts and ringing around letters before they ever reach the print file. PrintMTG specifically warns that small, compressed web JPGs can reproduce text poorly. Its guidance also identifies low-resolution artwork as a possible cause of disappointing dark or black areas.
Judge the components separately during proofing:
- Rules text should have distinct letter shapes rather than gray, fuzzy edges.
- Mana and set symbols should remain recognizable at normal card-reading distance.
- Frame lines and borders should not show stair-stepping or compression halos.
- Dark artwork should retain separable shadow detail instead of collapsing into one muddy area.
- Collector information should remain readable if it is intended to be part of the finished card.
- The commander, transform face, or other visually important cards should not be weaker than the rest of the batch.
Do not evaluate only at 400% zoom. That view is useful for finding artifacts, but the file should also be inspected at approximately final physical size. The relevant question is whether the complete printed card will be clear and internally consistent.
Bleed changes the required canvas, not the finished card size
Bleed is extra artwork outside the trim line. It gives the cutting process room to vary without leaving a white sliver along an edge. It does not make the finished card larger.
With 0.125 inch of bleed on each side, add 0.25 inch to both canvas dimensions. A 2.5 × 3.5-inch finished card therefore becomes a 2.75 × 3.75-inch print file. At 300 PPI, that is 825 × 1125 pixels.
Extend backgrounds, borders, and full-art imagery through the bleed. Keep card names, mana costs, rules text, symbols, and important focal details away from the cut. PrintMTG’s current guidance places important content at least 0.125 inch inside the trim line and recommends building at 100% scale instead of relying on fit-to-page or scale-to-printable-area settings.
Borderless cards are especially sensitive because a tiny trim shift can change the apparent balance of the composition. The project-level risks are covered in more detail in our guide to bleed and edge-crop risks for borderless MTG cards.
Choose a file format that preserves the prepared image
A good source can still be damaged by the final export. Under its current requirements, PrintMTG prefers print-ready PDF files and accepts correctly sized, high-resolution PNG or TIFF files for individual card faces. Its instructions specify CMYK for submitted print files.
The best choice depends on how the card was built. A print-ready PDF can preserve page dimensions and vector text when exported correctly. PNG is lossless and practical for flattened card faces. TIFF can retain high-quality raster data but may produce larger files. A highly compressed JPG is the risky option when small text and sharp frame elements matter.
Also confirm whether text remains vector-based or has been rasterized. Rasterized text can still print cleanly at sufficient resolution, but it becomes vulnerable to scaling and resampling. If the entire card is flattened, the final pixel dimensions must already be correct.
Check every card type that breaks the normal template
A full deck should not be approved based on one ordinary card. Double-faced cards, borderless treatments, showcase frames, dark artwork, custom tokens, and text-heavy designs create different failure points.
- For transform cards and MDFCs, confirm that both faces use the same final dimensions and bleed setup.
- For borderless art, inspect important subjects near every trim edge.
- For tokens, check whether small reminder text is genuinely needed and readable; the MTG token printing guide covers token-specific preparation.
- For dark cards, inspect shadow separation rather than increasing global brightness blindly.
- For line-art or text-dominant designs, preserve vector elements where possible or use the printer’s higher line-art resolution target.
- For a Cube, sample several visual eras and frame treatments rather than proofing only the newest card image.
A test batch is more useful than chasing enormous files
Once the file reaches a genuine 300 PPI at final size, doubling its dimensions does not automatically double its visible quality. Source sharpness, compression, text rendering, color conversion, bleed, cutting, and registration can matter more than an oversized pixel count.
For a Commander deck, competitive gauntlet, or Cube update, select a small validation batch that includes the project’s difficult cases: the smallest text, darkest artwork, a borderless card, a double-faced card, and at least one ordinary card that represents the majority of the order. Inspect sharpness, text, edges, centering, and contrast before scaling up.
If you want to move from prepared files to PrintMTG’s ordering route for MTG proxies and physical playtest cards, click here. Verify the live file requirements again before export, because accepted formats and production specifications can change.
Archive the approved resolution, not merely the artwork
A reusable project archive should preserve the exact files that passed proofing. Keep the editable source, print-ready export, dimensions, bleed specification, color settings, and a manifest identifying which card version each file represents.
Do not overwrite the approved files when revising five cards six months later. Create a dated revision folder and match the original canvas, export method, and resolution. Our MTG proxy project archiving workflow provides a repeatable structure for later replacements and reprints.
Frequently asked questions
Is 300 PPI always enough for an MTG proxy?
It is the practical target for most professionally printed card artwork at final size. Clean source art, properly rendered text, correct bleed, and careful export still matter. Line art may benefit from 600–1200 PPI under the printer’s specifications.
Can I print a 72 PPI image if its pixel dimensions are large enough?
Yes, if “72 PPI” is only metadata and the file contains enough pixels for the intended print size. For example, a 750 × 1050-pixel image placed at 2.5 × 3.5 inches has an effective resolution of 300 PPI regardless of an old metadata label. Confirm that the workflow does not unexpectedly resample it.
Should every card be exactly 825 × 1125 pixels?
Only when the required setup is a 2.5 × 3.5-inch finished card with 0.125-inch bleed on all four sides at 300 PPI. Another printer may specify different bleed, dimensions, templates, or file formats. Follow the current template for the actual ordering route.
Will AI upscaling make a low-resolution card image print-ready?
It may make some artwork appear smoother, but it cannot guarantee accurate recovery of small text, icons, frame details, or collector information. Rebuild text and graphic elements from clean sources when possible, then inspect the result at final size instead of trusting the new pixel count.
Do I need to include bleed if the card has a normal border?
Follow the printer’s template even when the design has a border. A border does not automatically replace required bleed, and a narrow border can make trim variation more visible. Extend the designated background into the bleed area while keeping critical content inside the safe zone.
Final preflight checklist
- Confirm a genuine 300 PPI effective resolution at final printed size.
- Use at least 750 × 1050 pixels for a 2.5 × 3.5-inch face.
- Use 825 × 1125 pixels when adding 0.125-inch bleed on all edges.
- Check that the original artwork and text are sharp before any enlargement.
- Keep names, mana costs, symbols, rules text, and focal subjects inside the safe zone.
- Export in a currently accepted print-ready format and color mode.
- Inspect difficult cards individually rather than approving the deck from one sample.
- Order a representative test batch before a large deck, Cube, or group project.
- Archive the approved source and export files with dimensions and version identifiers.
The short answer is 300 PPI at final size, but the safer project rule is broader: start with enough real source detail, prepare the correct bleed canvas, protect critical content, and validate the hardest cards before approving the entire batch.